How to Host a File on S3 Publicly
Goals
- Host static files (like images) in an S3 bucket.
- Each file should be available for download via a publicly accessible URL.
- The public should have read-only access to the files.
- Create an AWS user with read/write access to the bucket but no other AWS permissions.
Instructions
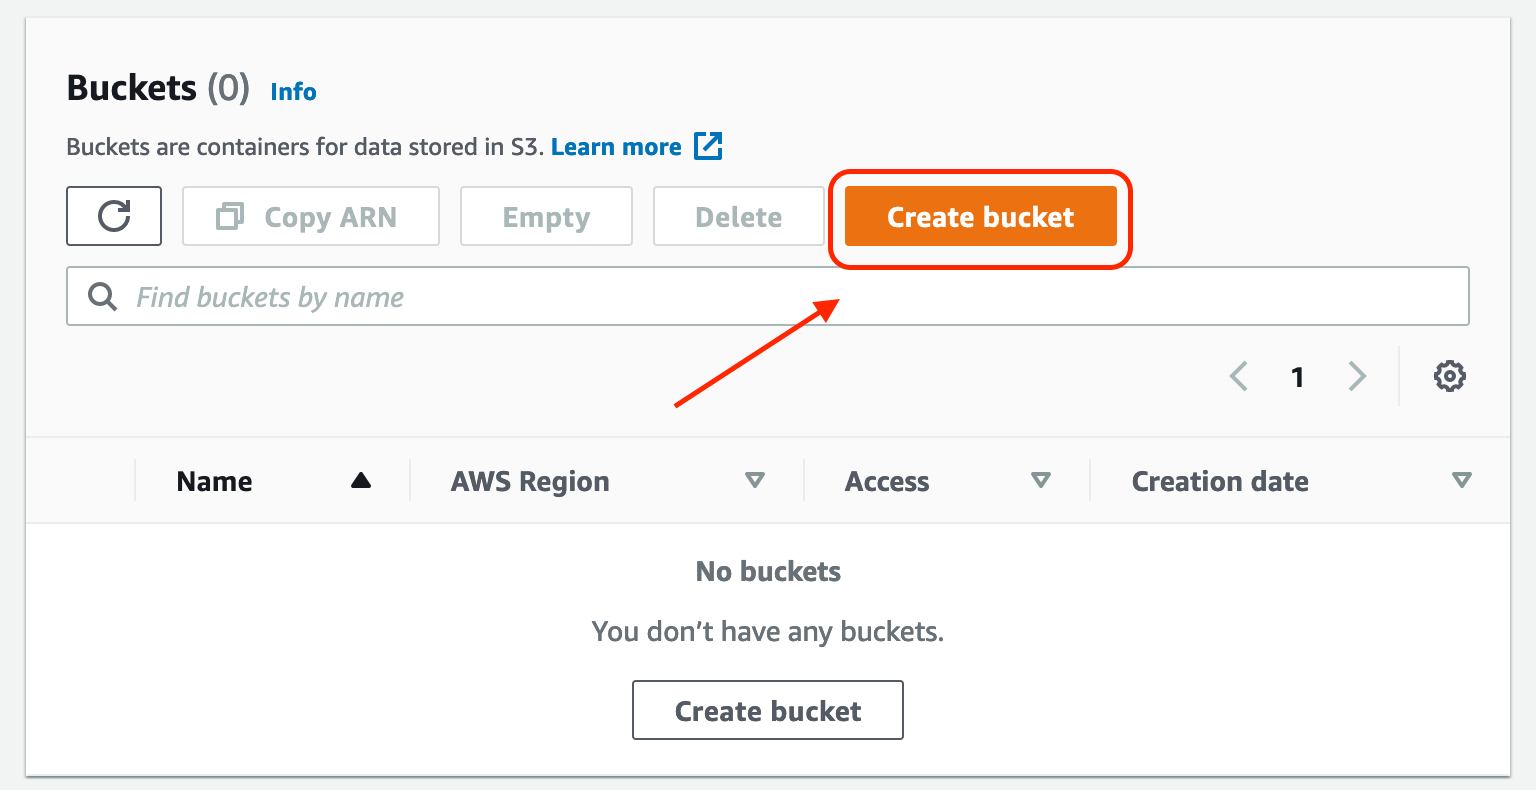
Step 1: Create the bucket
Click "Create bucket" in the S3 console. Then, create a unique name. Select a region. Uncheck the box labeled "Block all public access." Upon doing so, another box will appear, requiring you to "acknowledge that the current settings might result in this bucket and the objects within becoming public." Check that box.
Note: It is possible to have a bucket where some objects are public while others are private. Don't do this! This guide assumes you will use this bucket for public-facing objects only. This is intentional and may save you from making a silly mistake. It also means you don't need to waste money on needlessly encrypting/decrypting public-facing files.
Step 2: Add a bucket policy to make the objects in the bucket public
After creating the bucket, navigate to the bucket in the S3 console, click 'Permissions,' and edit the 'Bucket policy.' Paste the following JSON into the policy, and change 'name_of_bucket' to the actual name of the bucket you created.
{
  "Version": "2012-10-17",
  "Statement": [
    {
      "Action":["s3:GetObject","s3:GetObjectVersion"],
      "Effect": "Allow",
      "Principal": "*",
      "Resource":["arn:aws:s3:::name_of_bucket/*"]
    }
  ]
}
Step 3: Create an IAM policy for giving users read/write access to the bucket
Navigate to the IAM Policy console, click "Create Policy," paste the following JSON into the JSON policy editor, and save the policy.
{
  "Version": "2012-10-17",
  "Statement":[{
    "Effect": "Allow",
    "Action": "s3:*",
    "Resource": ["arn:aws:s3:::name_of_bucket",
                 "arn:aws:s3:::name_of_bucket/*"]
    }
  ]
}
Step 4: Create a user and attach the previously created IAM policy
Navigate to the IAM User console, click "Add users," create a user name, choose the appropriate credential type, and attach the Policy from Step 3 to the user. This created an AWS user with administrator privileges over the new bucket but no other permissions. This user can now upload files to the AWS bucket.